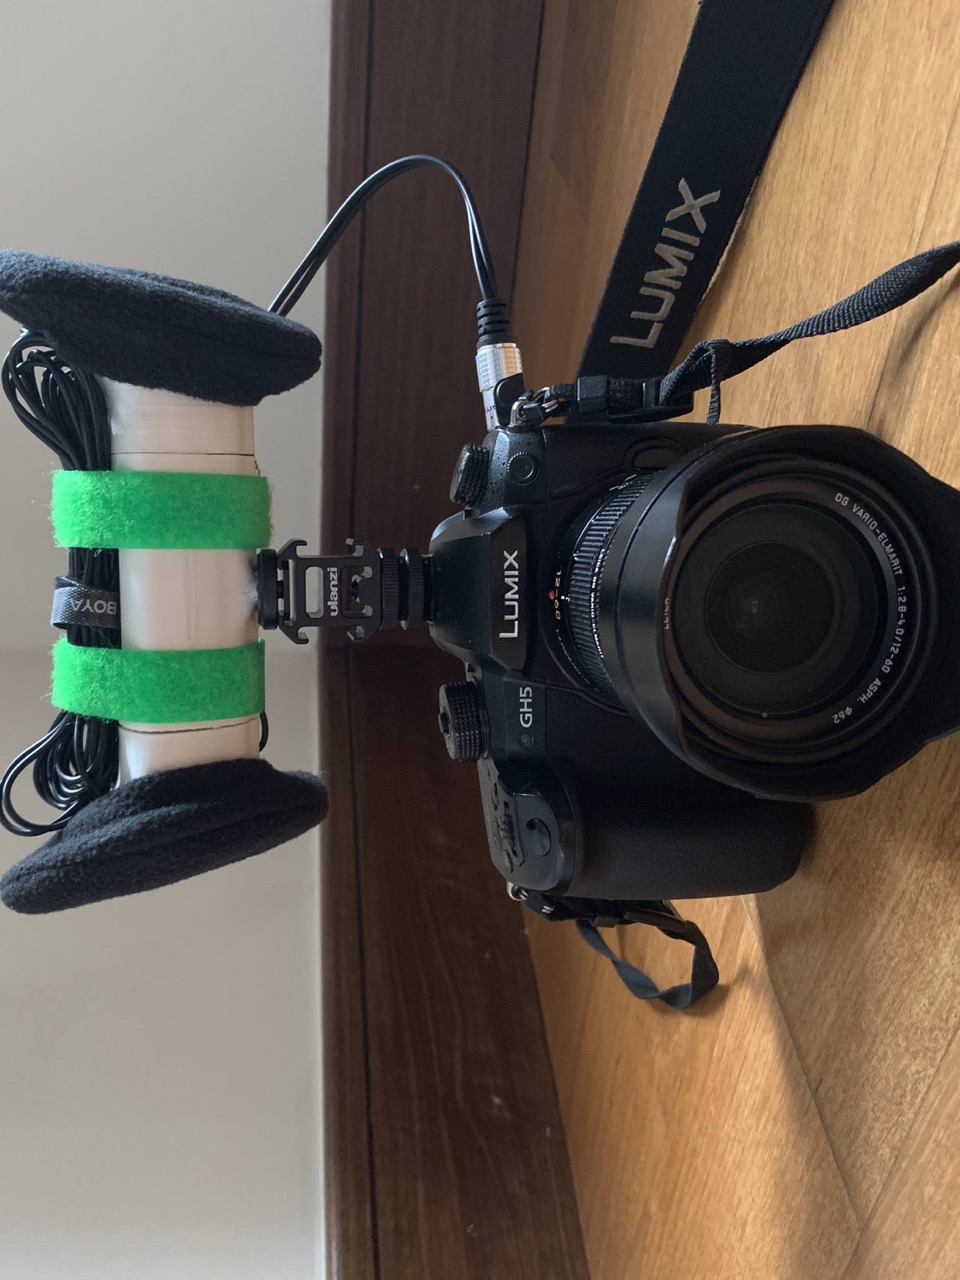
This is a DIY, makeshift binaural microphone. If you wish to understand the reasons for making this and the science behind the scenes, read this post.
The Process:
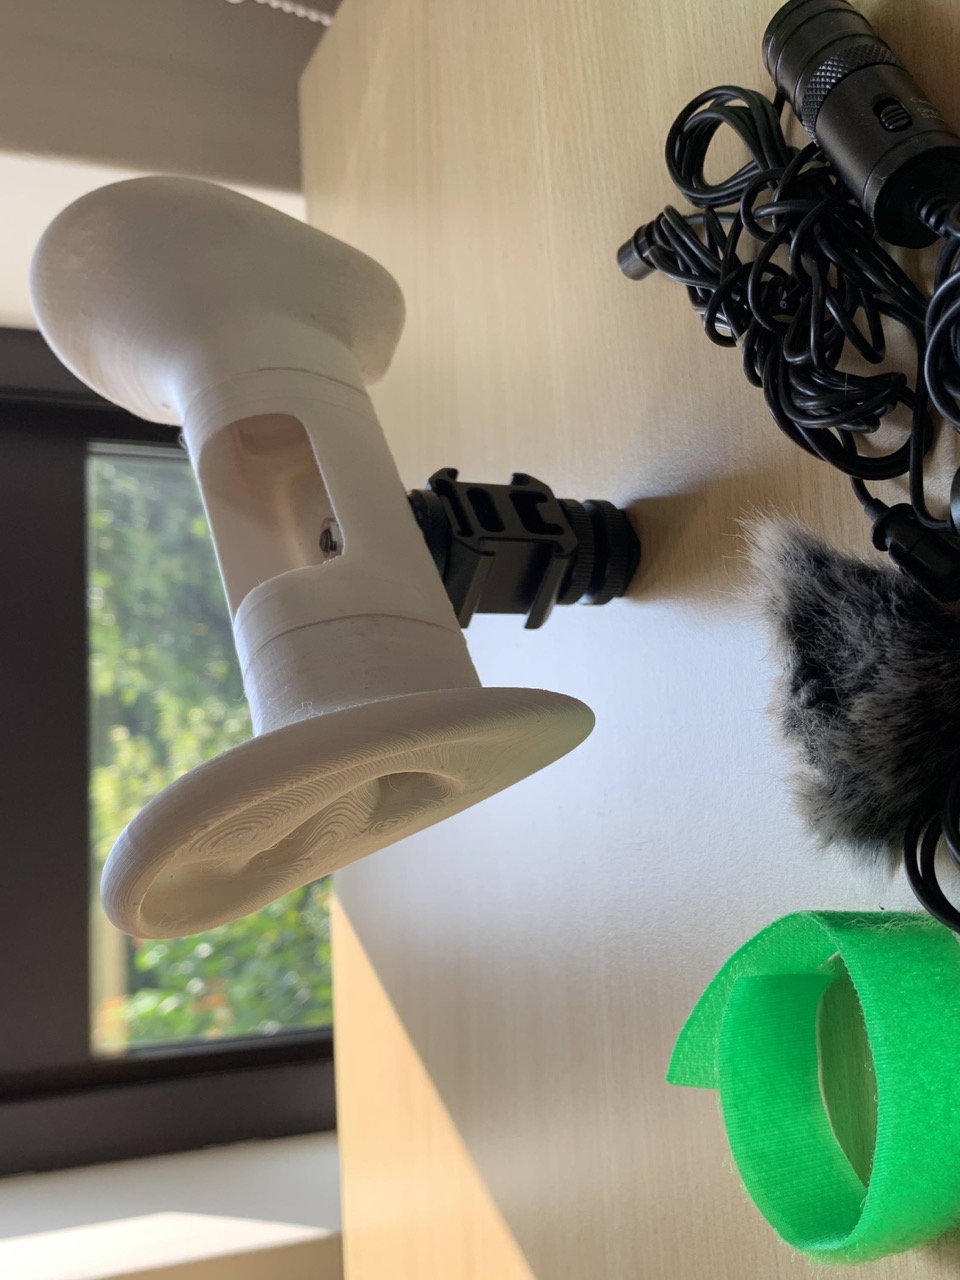
Figure 1: The beginning
In Figure 1, I adapted a design from 3-D files found online, swapping out the plastic hotshoe mount for a tripod, where I could later attach a metal hotshoe extension for height.
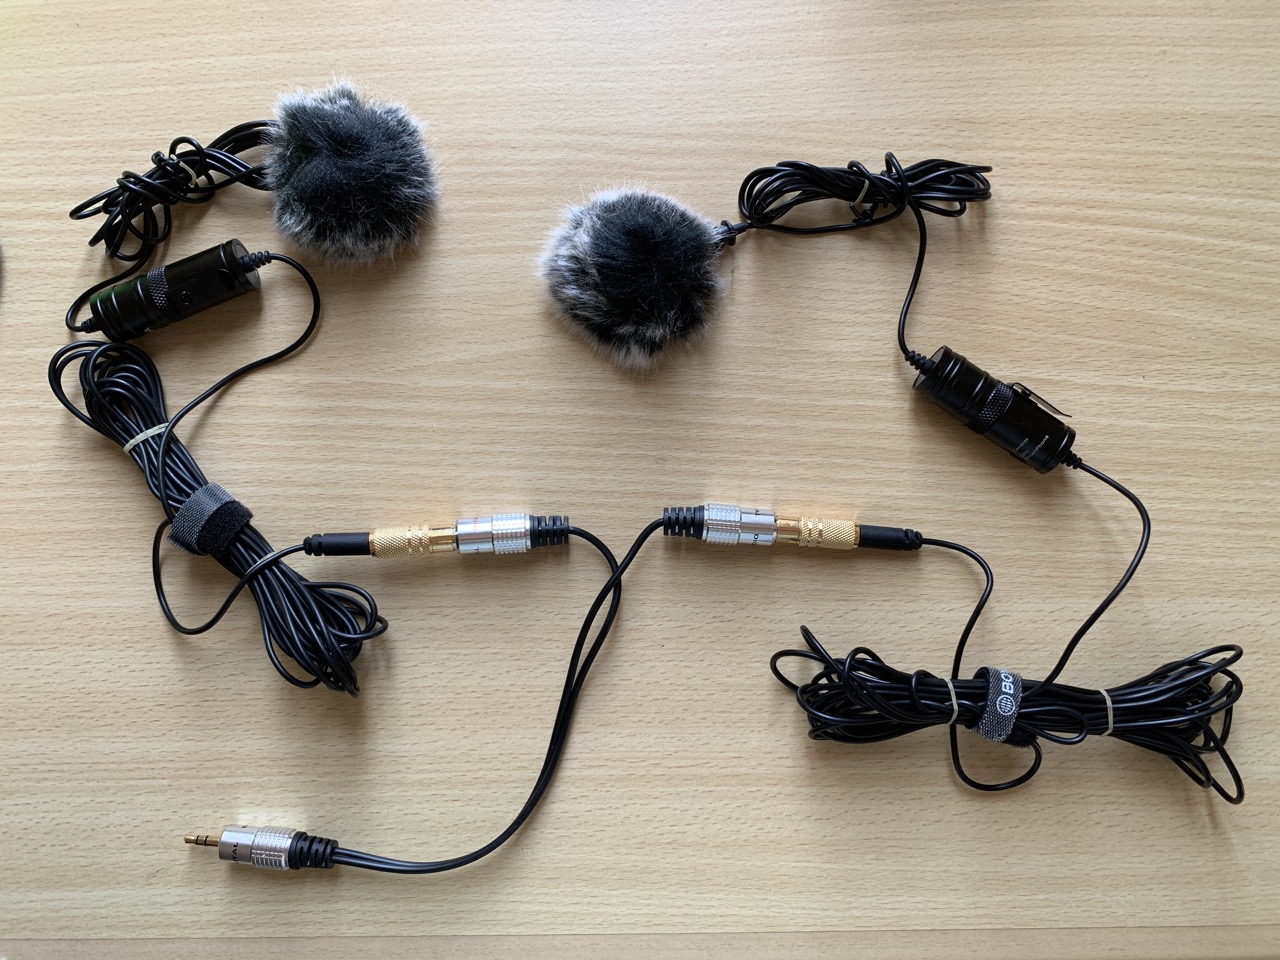
Figure 2: Wiring the lavaliers in stereo
I neatly tied up two lavalier microphones and connected them in split stereo. I could not find a 3.5mm stereo splitter that was truly L+R separated, as most of these were earphone sharing adapters. This type of adapter combines the audio from both of the lavaliers’ output, which would ruin the binaural effect (no separation, each lavalier is heard on both tracks).
I used an RCA adapter instead (the silver-black junction cable in the bottom centre of the image), which is guaranteed to have true separation.
The deadcat shield (the wooly cover for the microphone) is to prevent wind noise and to deaden the housing to imitate the shadowing effect of the head. (To read more about the shadowing effect, I mention it in this post).
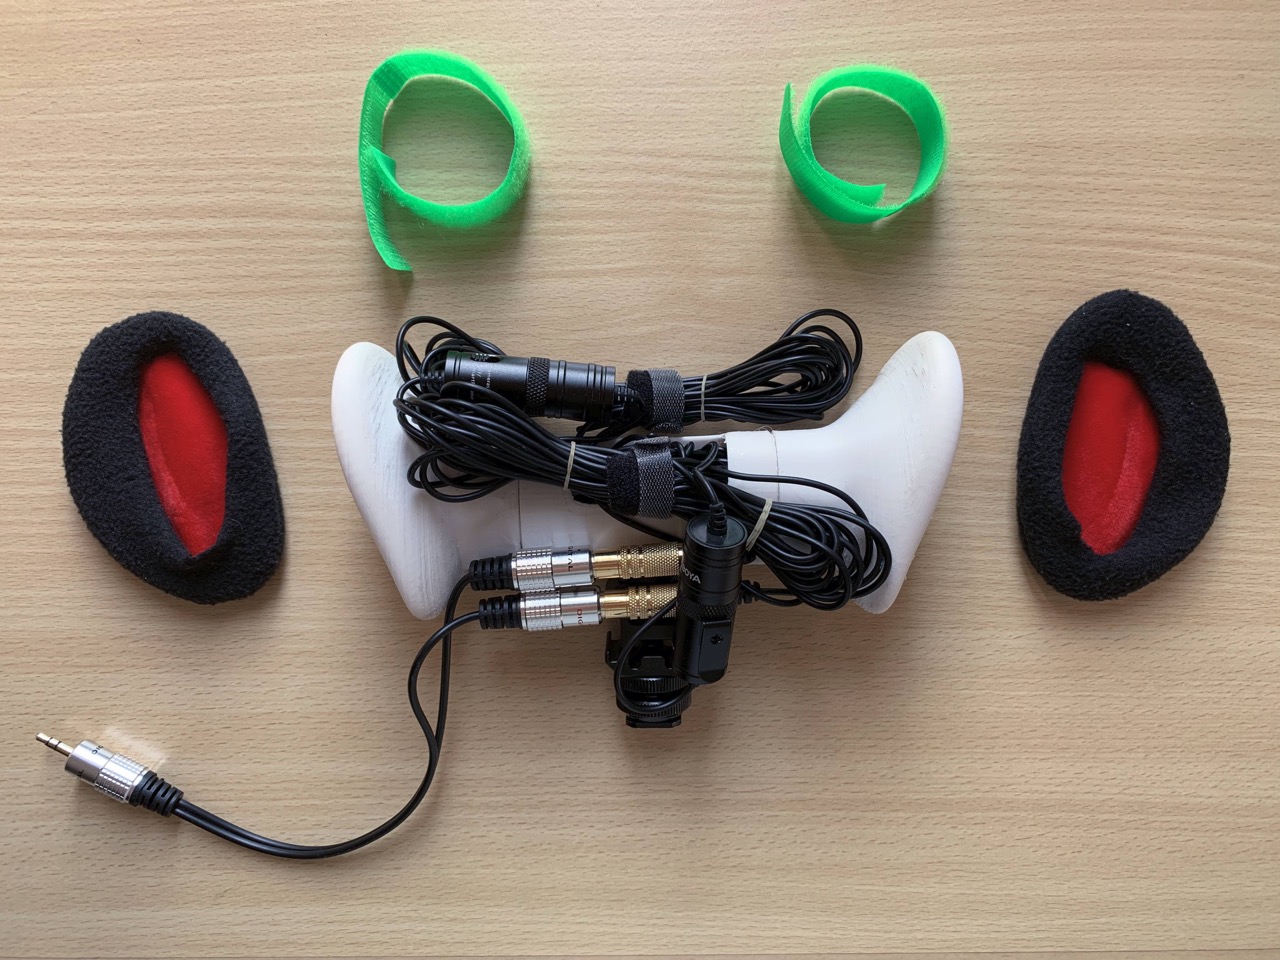
Figure 3: Exploded View
Figure 3 shows two ear-coverings in black and red cover the ears to further protect from wind noise and make the appearance of the microphone more discreet. I intend to take this microphone on my travels and would prefer not to get any weird looks from people as I carry around my anthropomorphic microphone.
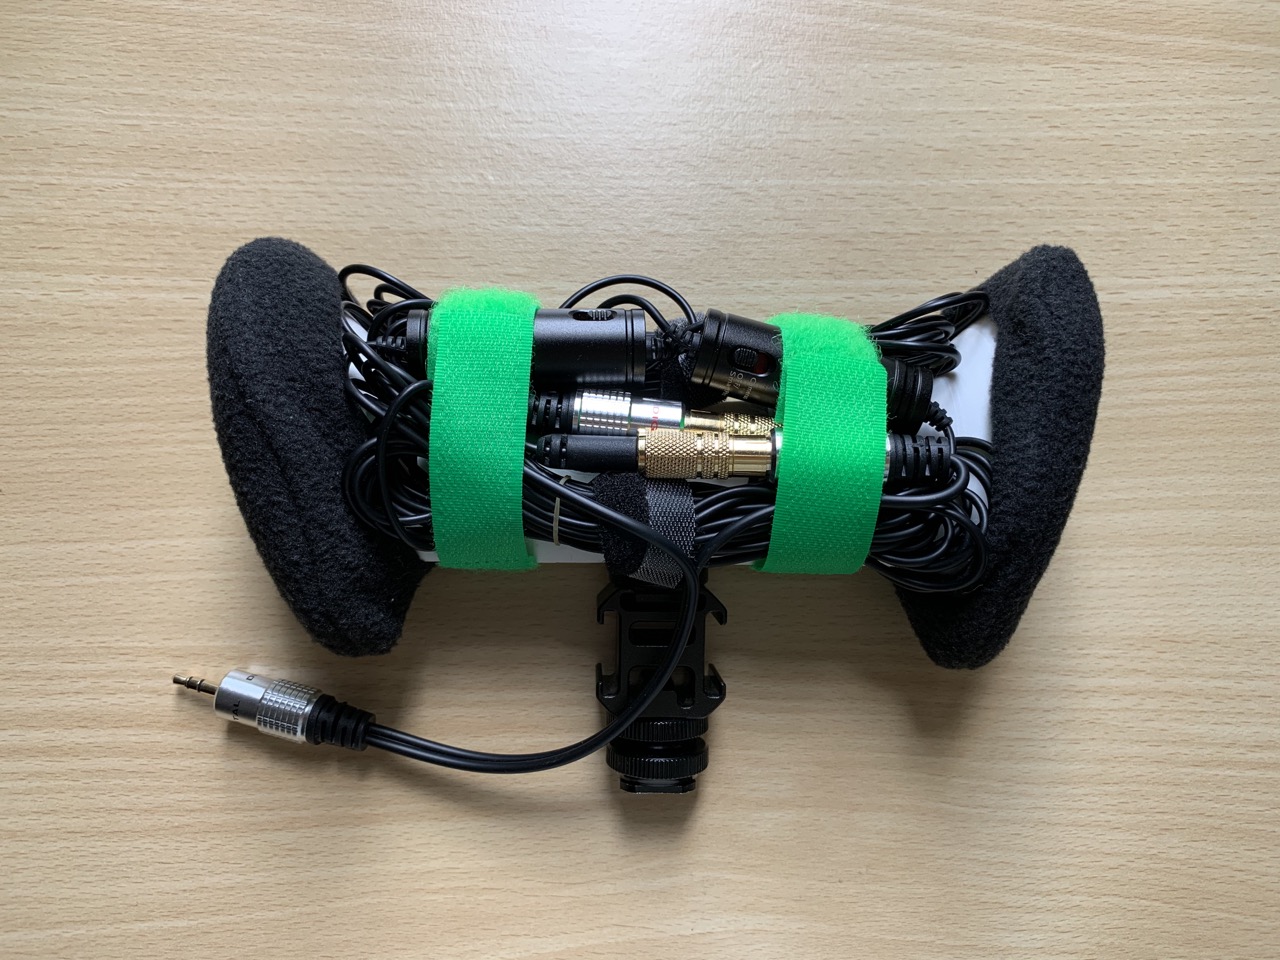
Figure 4: Back View
Some cable management later, and I’m done! I stuffed as much cable as possible into the housing to deaden the vibrations as much as possible.
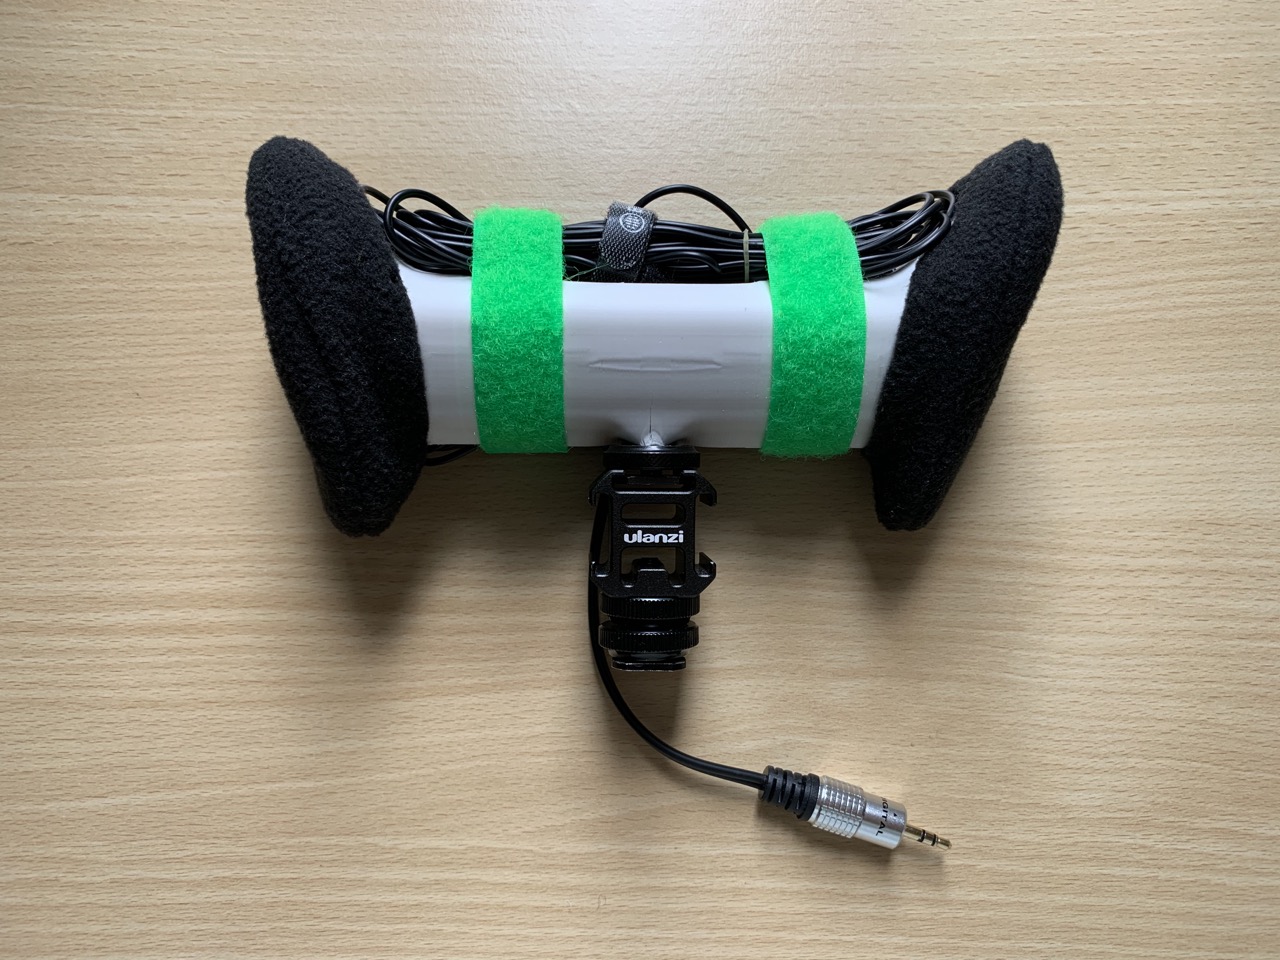
Figure 5: Front View
The Results (watch with headphones/earphones for the binaural effect):
What went well:
Sound quality is great for the price – RM200 (£36) and the results sound much better than the in-built mic of the camera. The fabric ear coverings also protect the microphone from clipping, allowing me to record loud audio sources like a live performance.
The design is easily dismantled in case I wish to repurpose the lavalier microphones for voiceover purposes.
The metal hotshoe attachment is solid and is well-secured to the camera mount. In terms of dimensions, the microphone is compact, contributing to its light weight. Most importantly, it is discreet. I might even create a fabric covering out of a sock to cover its components. By then, let’s hope it doesn’t look too suspicious in the airport security’s x-ray scan.
What I could improve:
The gold RCA-to-3.5mm adapters are heavy and metallic. If the camera moves too much, they might strike together, creating a clinking sound that disrupts the audio.
The 3-D printing material was PLA, which creates topological artefacts (looking like a contour map) that reduces the effect of the HRTF and ruins the acoustics.
The microphone design does not incorporate the shape of the head like other commercial binaural microphones (see below). The area of the head is known to contribute to the binaural effect, although not as much as the ears.
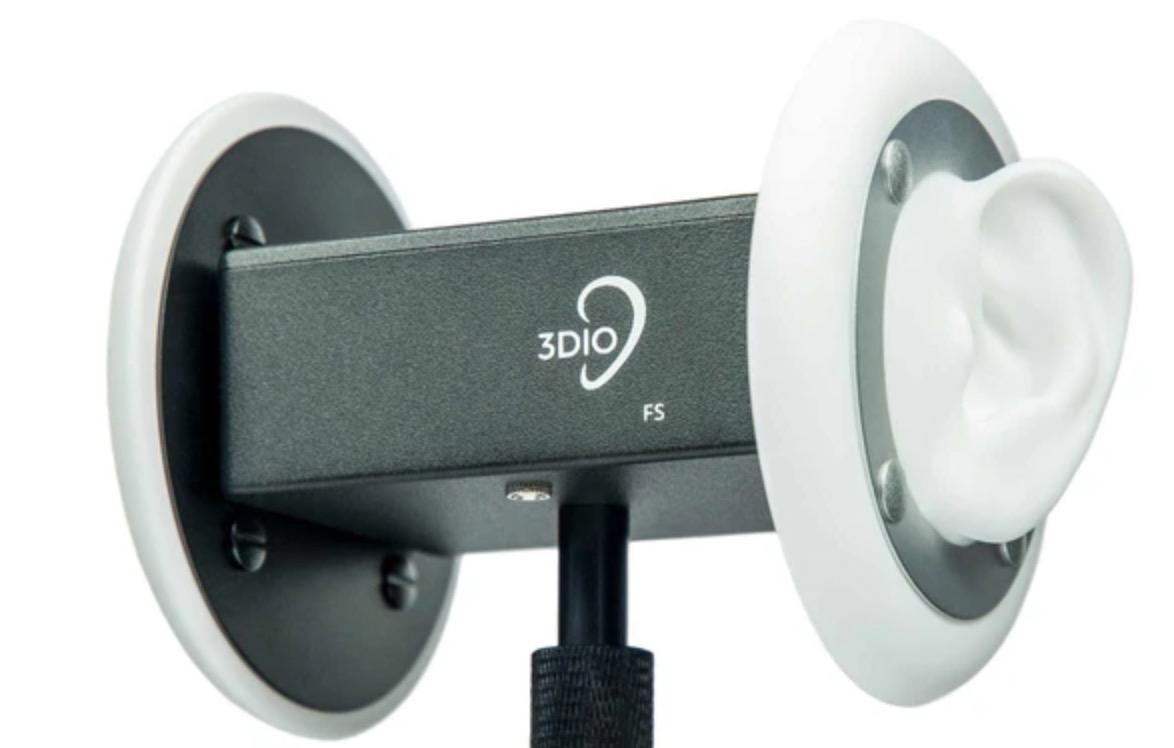
Image Credit: 3Dio
This was a fun project to do over the summer! Most of the time was spent on waiting for parts to arrive. I learnt a lot about physics, audio equipment, and cable management building this project – and I hope this microphone serves me well for my video projects.
